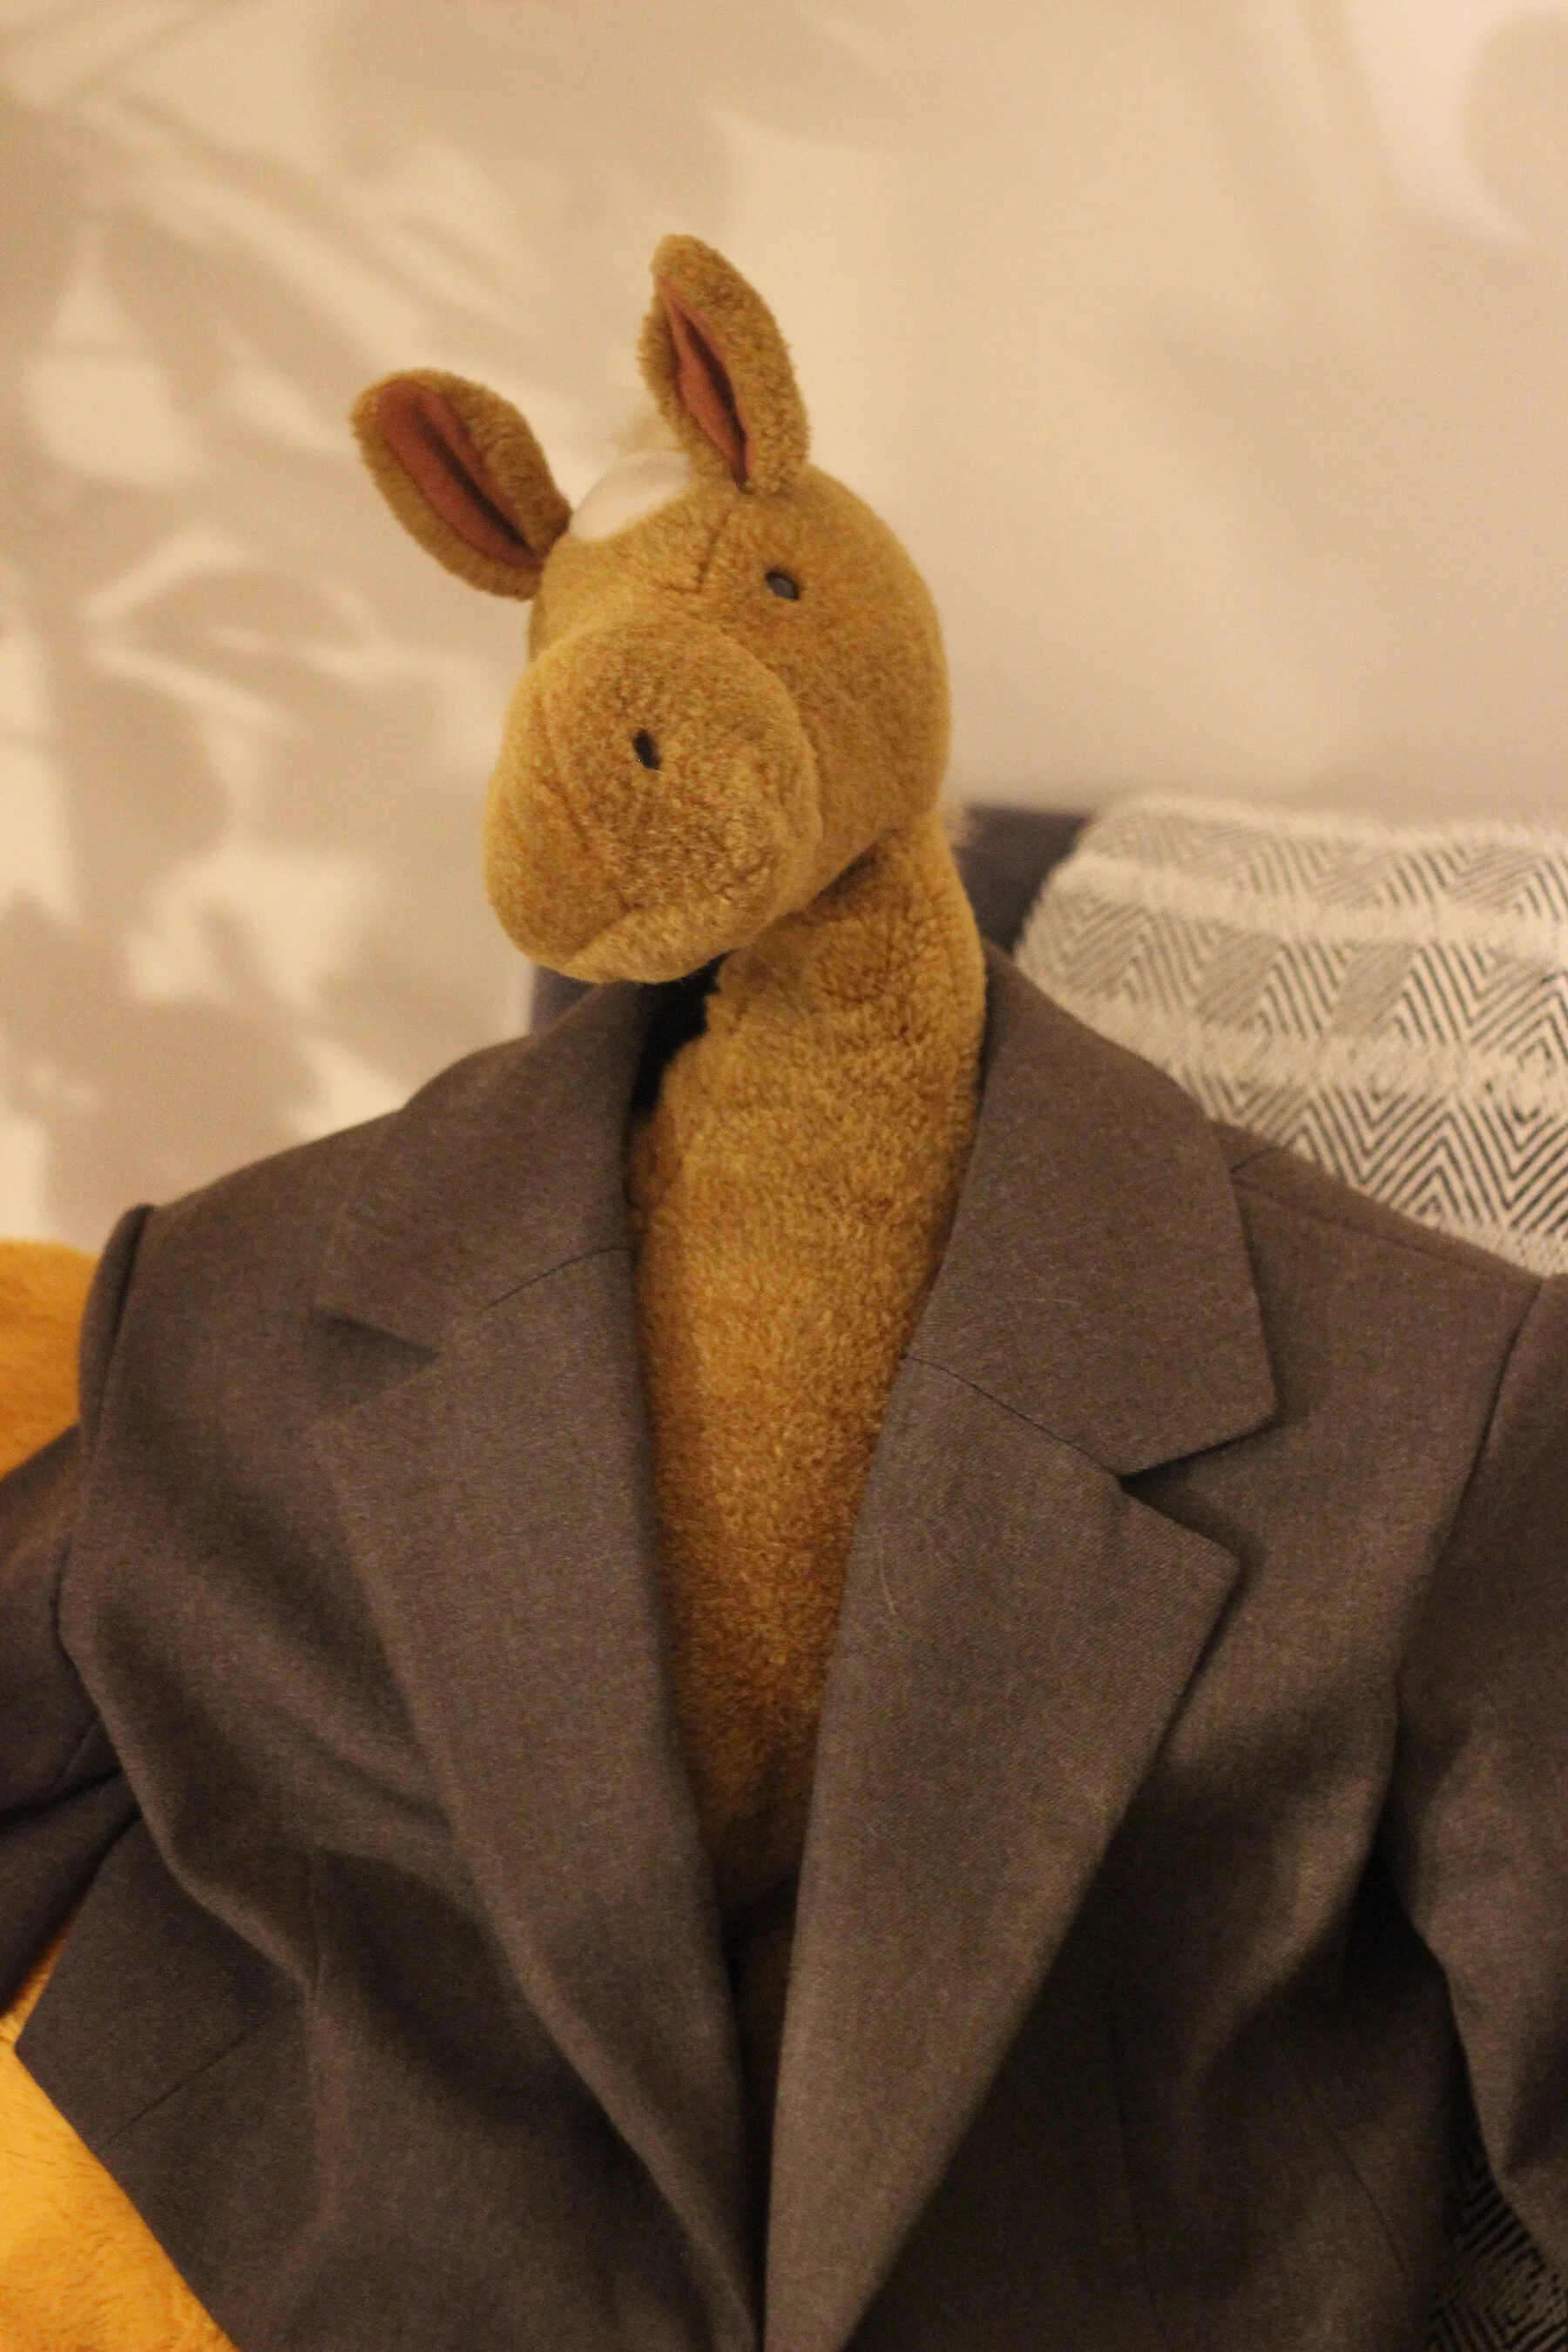
Adventures in Making a Cropped Blazer
Or, How I Poured 4 Days of Work Into a Completely Impractical and Essentially Useless Garment
So, I made a cropped blazer! I documented my whole process on my Instagram stories, which I have saved into the “Cropped Blazer” highlight on my Instagram for your viewing pleasure. Therefore, I will not go into massive amounts of detail about how I made the thing and modifications I made here. Instead, this blog post comes to you in three parts: A completely unnecessary origin story, a tale of toiles and tribulations, and most importantly, lessons learned and future plans. Feel free to jump around, and enjoy!
A Completely Unnecessary Origin Story
Before I started sewing, I never wore structured garments like blazers or tailored trousers; mostly because I didn’t think finding a well fitting one was possible within my budget. I did not own a single fitted jacket, all my outerwear is very, very oversized. While I’m still a giant-denim-jacket sort of person at heart, sewing my own clothes has given me a new found appreciation and desire for fitted clothing. This urge has become especially pronounced once I realized that I could potentially make myself the garment of my wildest dreams: the three piece suit.
I wanted a traditional, three piece suit ever since I was a kid. While the specifics of said suit has shifted throughout the years (from me desperately wanting a tuxedo to lusting over gorgeous tweed suits) but the idea of having a perfectly fitted suit has remained constant. I thought it would take me years and years of meticulous sewing practice before I could even consider the idea of making one for myself, but thanks to the incredible creative and supportive environment Instagram’s sewing community has given me, I decided I would at least try my hand at it. I always advise beginners to learn through making and failing and trying again, since that is how I learned how to sew. I thought taking my own advice on this would be a good idea :)
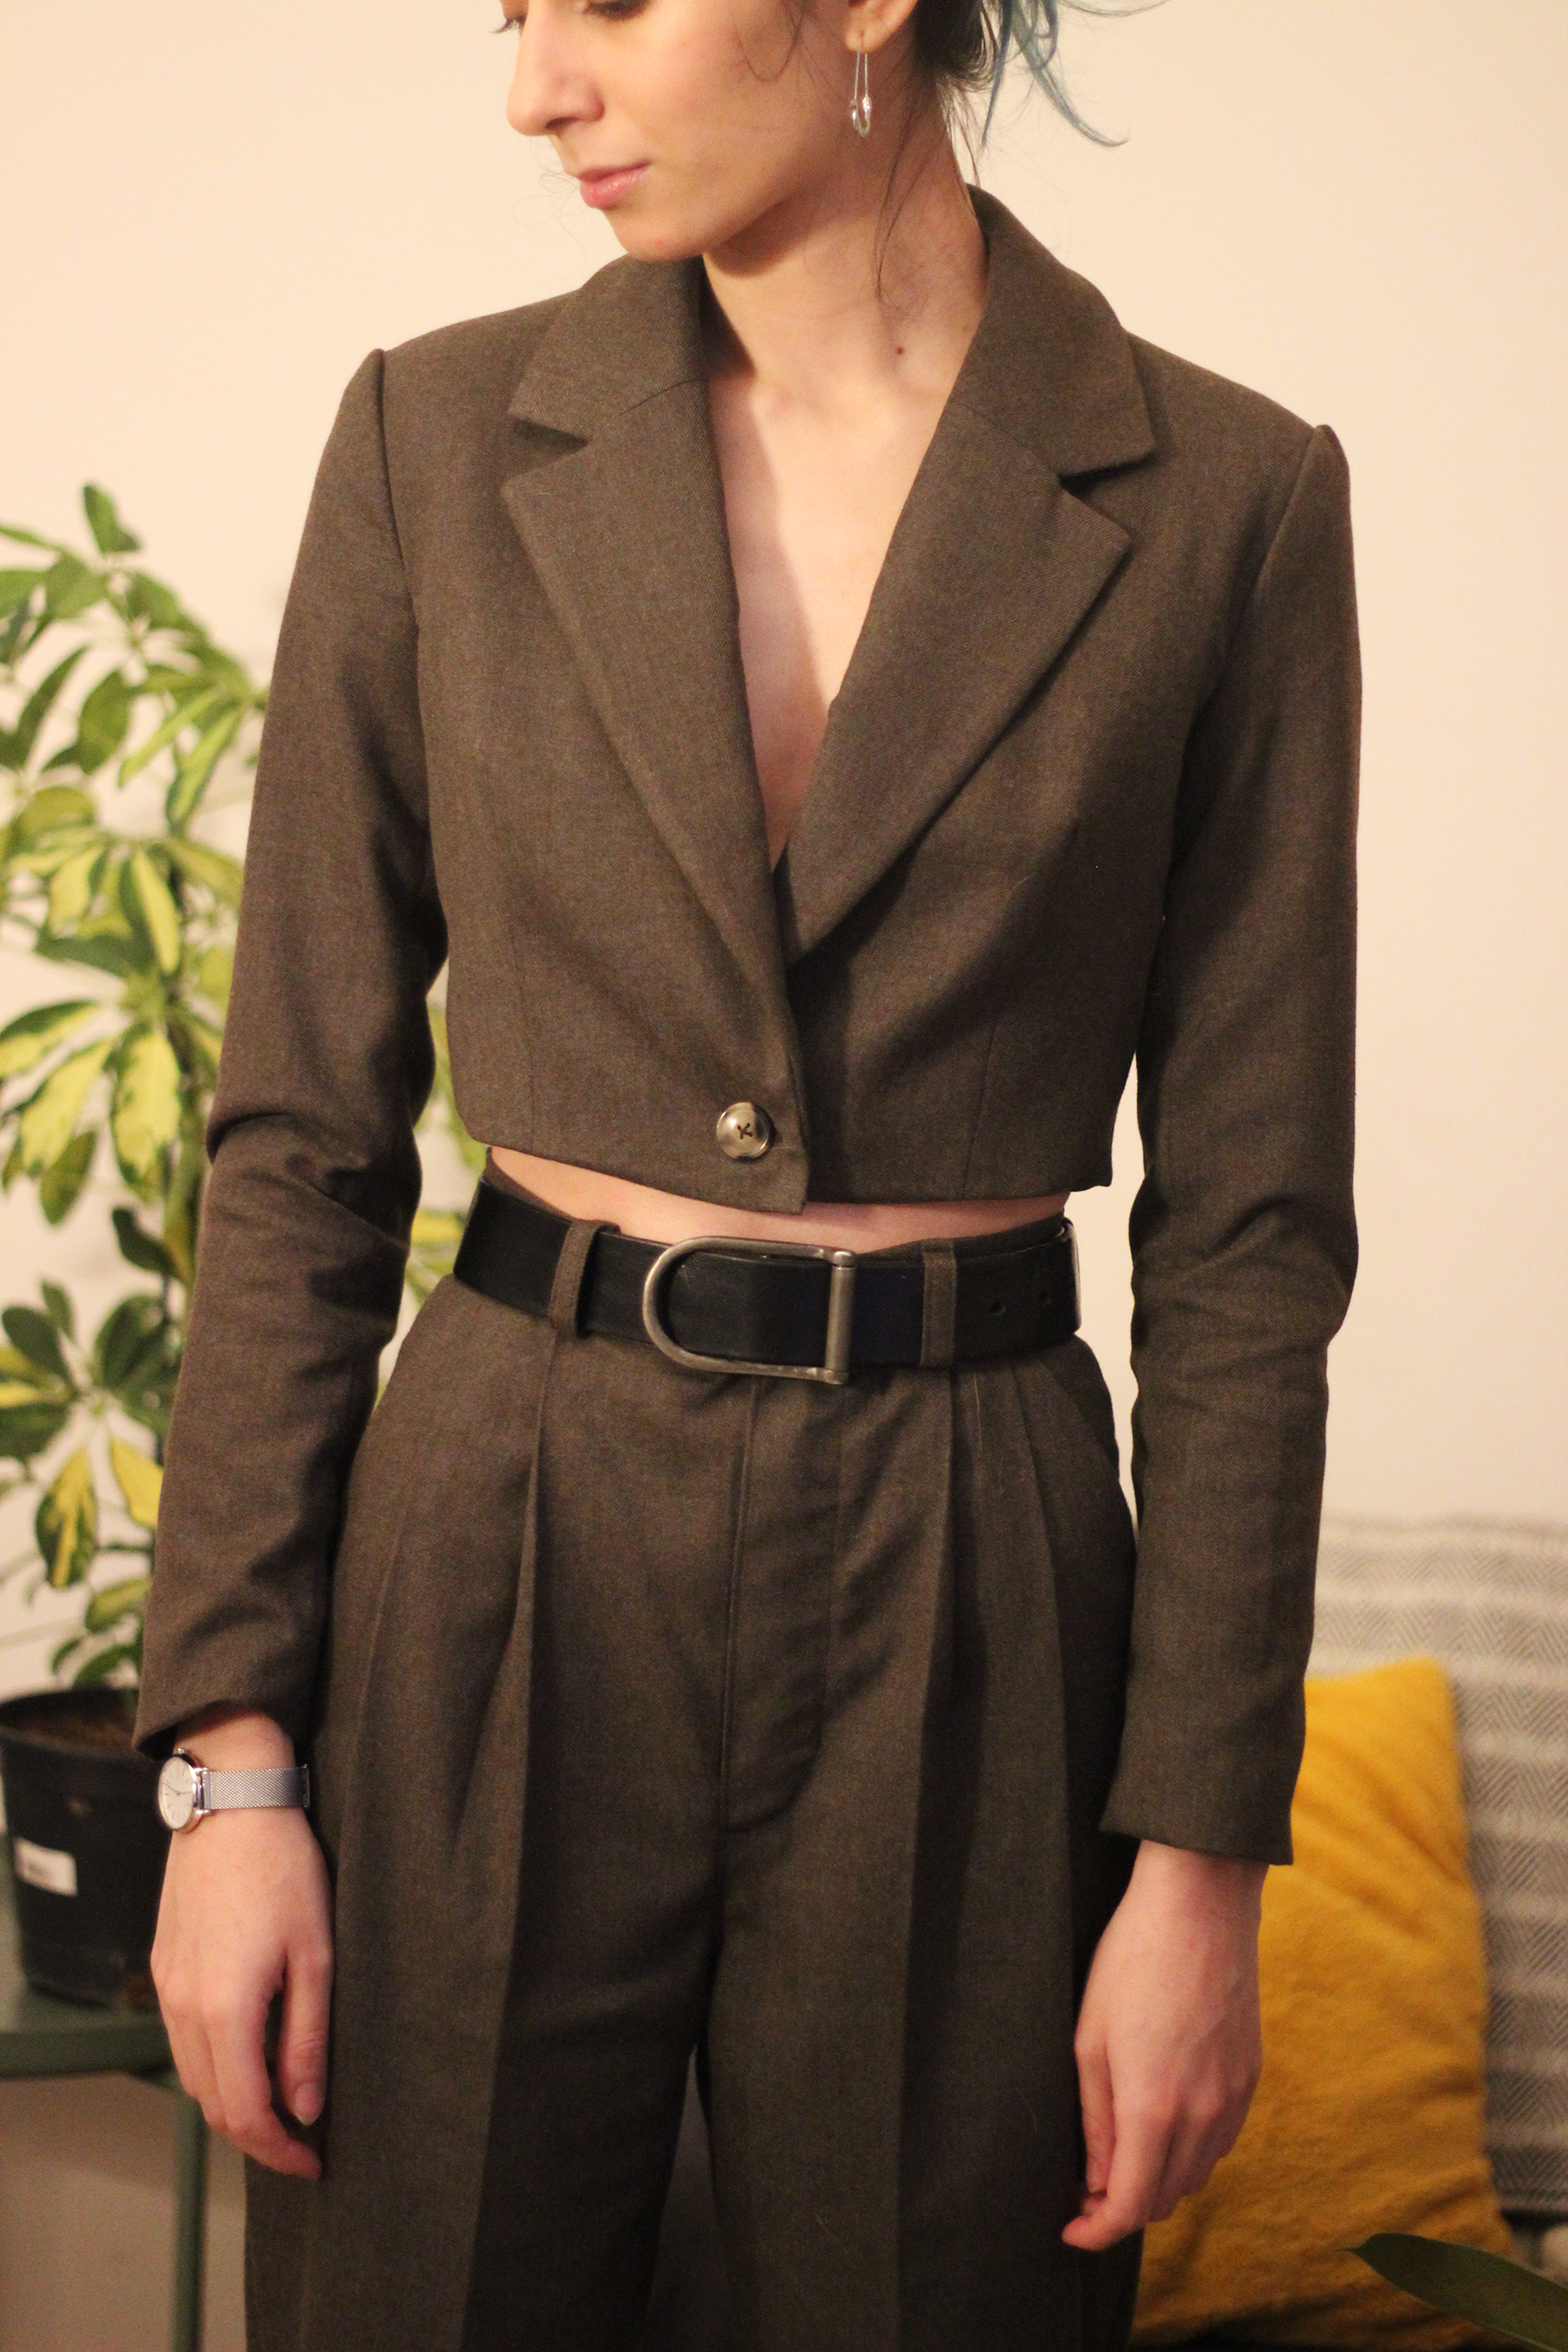
So, I grabbed some relatively inexpensive (but absolutely beautiful) suiting gabardine from my favourite fabric store to signal my commitment to myself. It took me a while, but I made the trousers a couple of weeks ago, when I desperately needed a sewing win after the torture that was finishing my first coat. Trousers are my thing, so I felt confident starting there, but I had no idea where I would go with the waistcoat and the blazer. I initially wanted to draft my own for both, but I never knew when I would have the time and patience to do it. Plus, I knew I needed to take some time to figure out how these things are constructed, after the mess that was installing the collar of my coat.
And then, I saw it. The cropped blazer pattern from Grasser, one of those Russian pattern companies full of “trendy” sewing patterns. Cropped outerwear is another weak point of mine, and I have been lusting over these boxy cropped blazers for years. Not only did I fall in love with its silhouette, I thought it would be a great chance to figure out the basic construction of a blazer without getting lost in details like 3565 welt pockets and back vents and whatnot. Plus, it would be a novelty item, unlike a more classic blazer which would ideally become a part of my everyday wardrobe, taking some pressure off my shoulders about it being perfect.
So, my initial plans for a three piece suit turned into a four piece suit, and I started toiling.

Pattern: Grasser 759

Size: 38 Height: 158-164 cm
Fabrics Used: Grey-Brown Suiting Gabardine & Black Cupro
#ToilesAndTribulations
Somewhat embarrassingly, this is the first pattern for which I went into the whole process of toiling. I was worried about it fitting my upper bust area and shoulders, since that is usually a problem area for me with commercial patterns. My first toile went quite smoothly, all the darts and shaping worked great for my body, and I loved the overall look. While I was slightly apprehensive about how it fit in the upper bust area, through some very helpful conversations with Instagram sewing friends, I decided it was right.
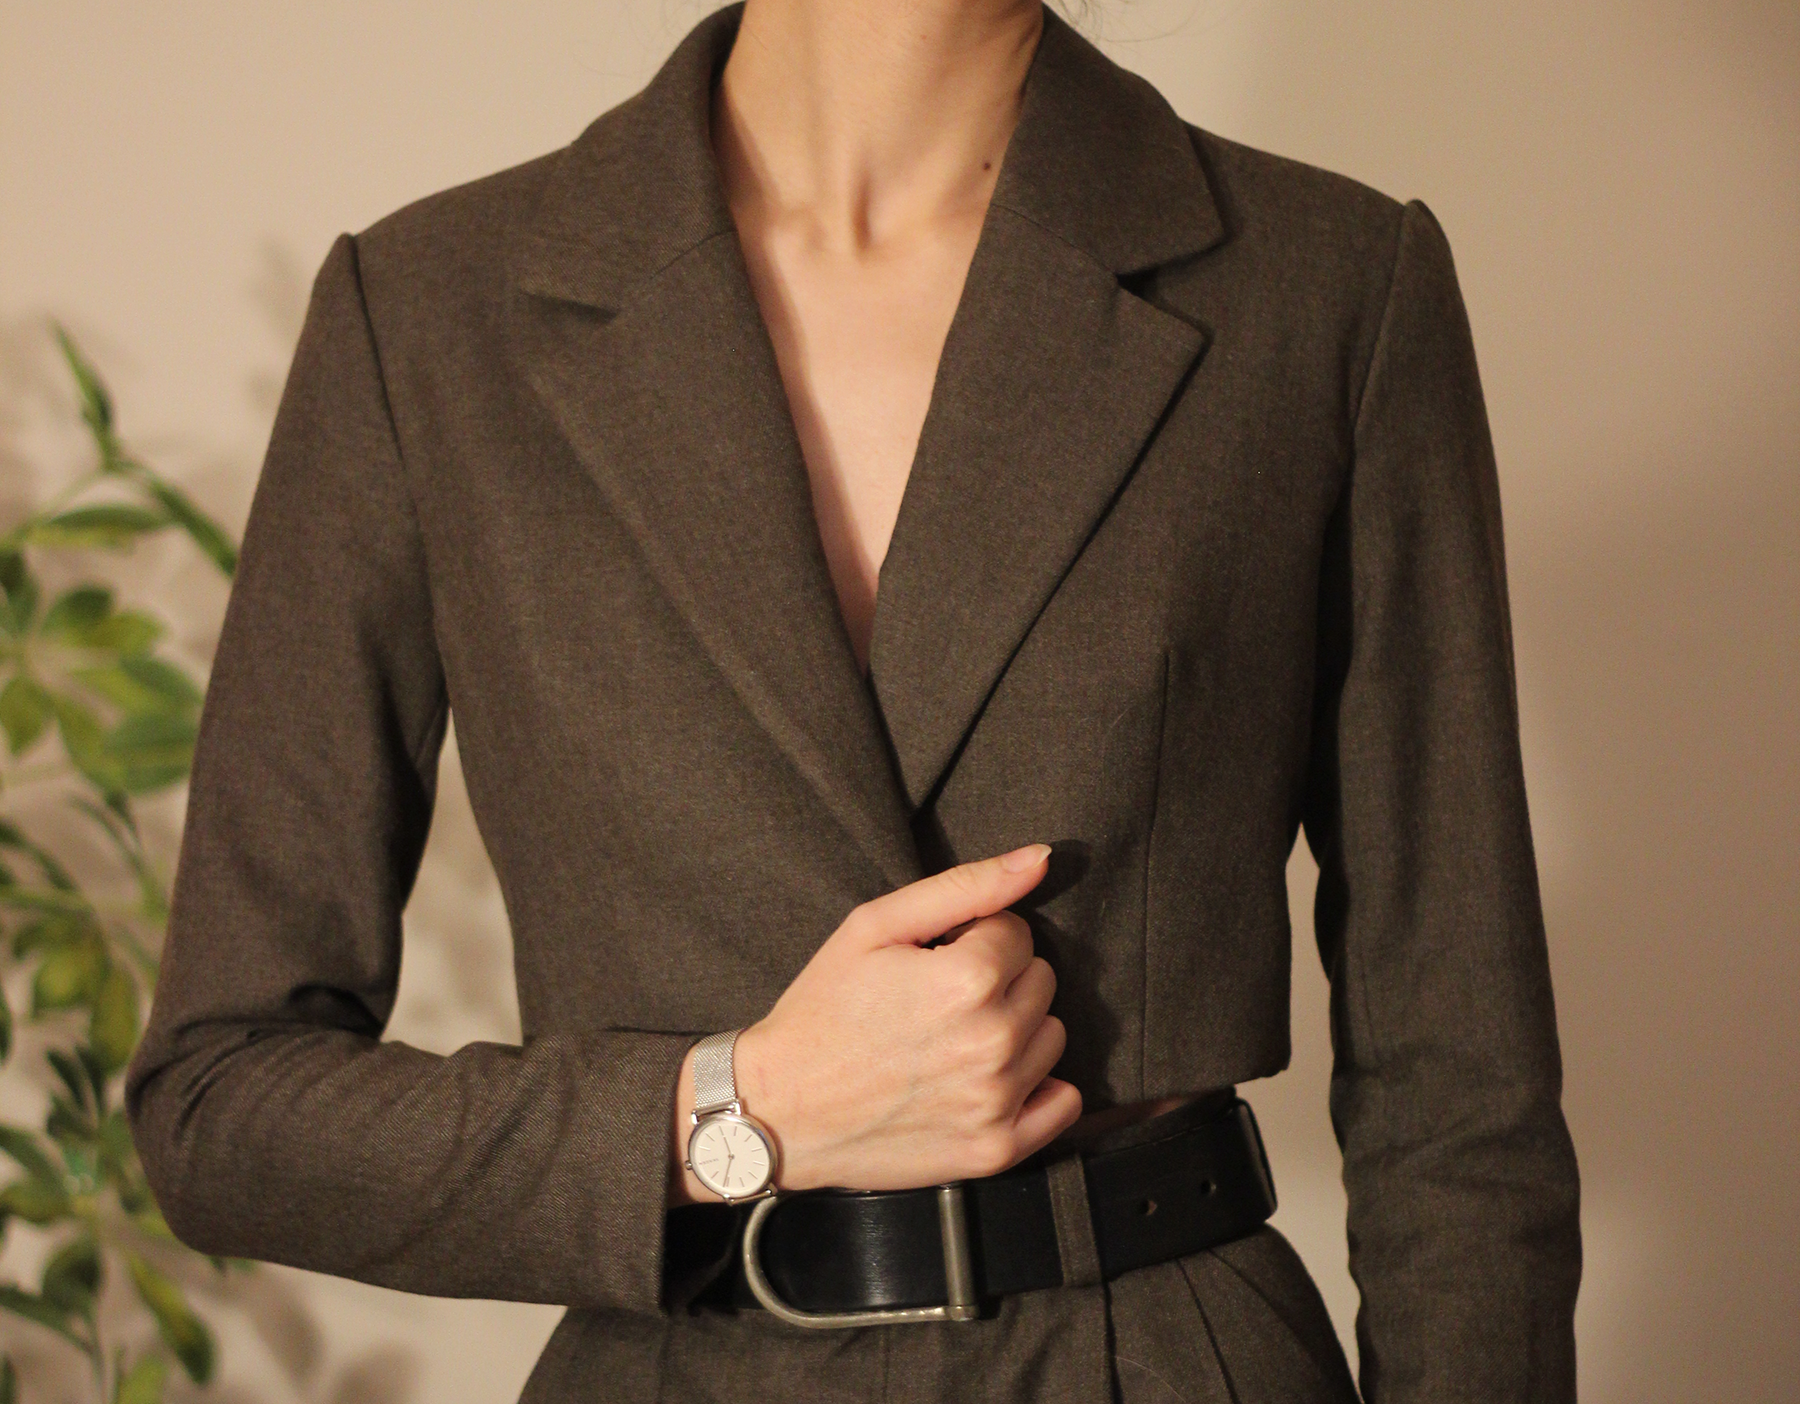
One thing I knew I wanted to change was the shape of the collar and the lapel. The Grasser 759 features a notched lapel that almost gives the illusion of a shawl lapel, with the “notch” being almost concealed by the flowing, round collar and lapel shape. That, and it has some rather beefy lapels. I’m a sucker for a classic, sharp, notched lapel, so I decided to slim the lapels down a bit and make the collar into a prominently notched one.

I also adjusted the lining pieces to suit my preferred way of putting in the lining to jackets, but other than these adjustments, I decided to leave everything else untouched.
Lessons Learned: Notes to My Future Self (and You!)
So, how did I go? Let’s start with the positive notes:
My biggest fear about this whole project was surrounding the collar, since that was my pitfall with the coat. I took my time, did my research, and I’m happy to report that I managed to successfully (and properly) install the collar this time! I found it really, really helpful to mark the stitching lines on my fabric pieces for the trickier pieces like the collar stands. I also started at the middle and worked my way out to the edges for these curves, and instead of trying to pin everything down I took it super slow and aligned the two pieces as I stitched. I also found the wonderful Diane Deziel’s video on constructing and attaching the collar and lapel incredibly helpful, click here to check it out! The other resource that made this process much easier was the instruction booklet of the Jasika Blazer by Closet Core Patterns. I grabbed the pattern during their Thanksgiving sale, and their extremely clear and well written instructions came in super handy, especially since I only had Russian instructions in my hands!


The one thing that went right with my coat was the pad stitching I did on the lapels. It was my first time trying it out, and I guess that’s why I poured so much attention and care into those. However, following a very stupid mistake I made on the pad stitching for these lapels, I felt a bit fed up and ended up rushing through it to get it done. That meant that I ended up with worse results this time around, and once again reminded me to STOP WHEN I DON’T FEEL LIKE DOING IT. I’m trying to get better at this but I still have a tendency to push through and rush things into completion, which always results in regret on my behalf.
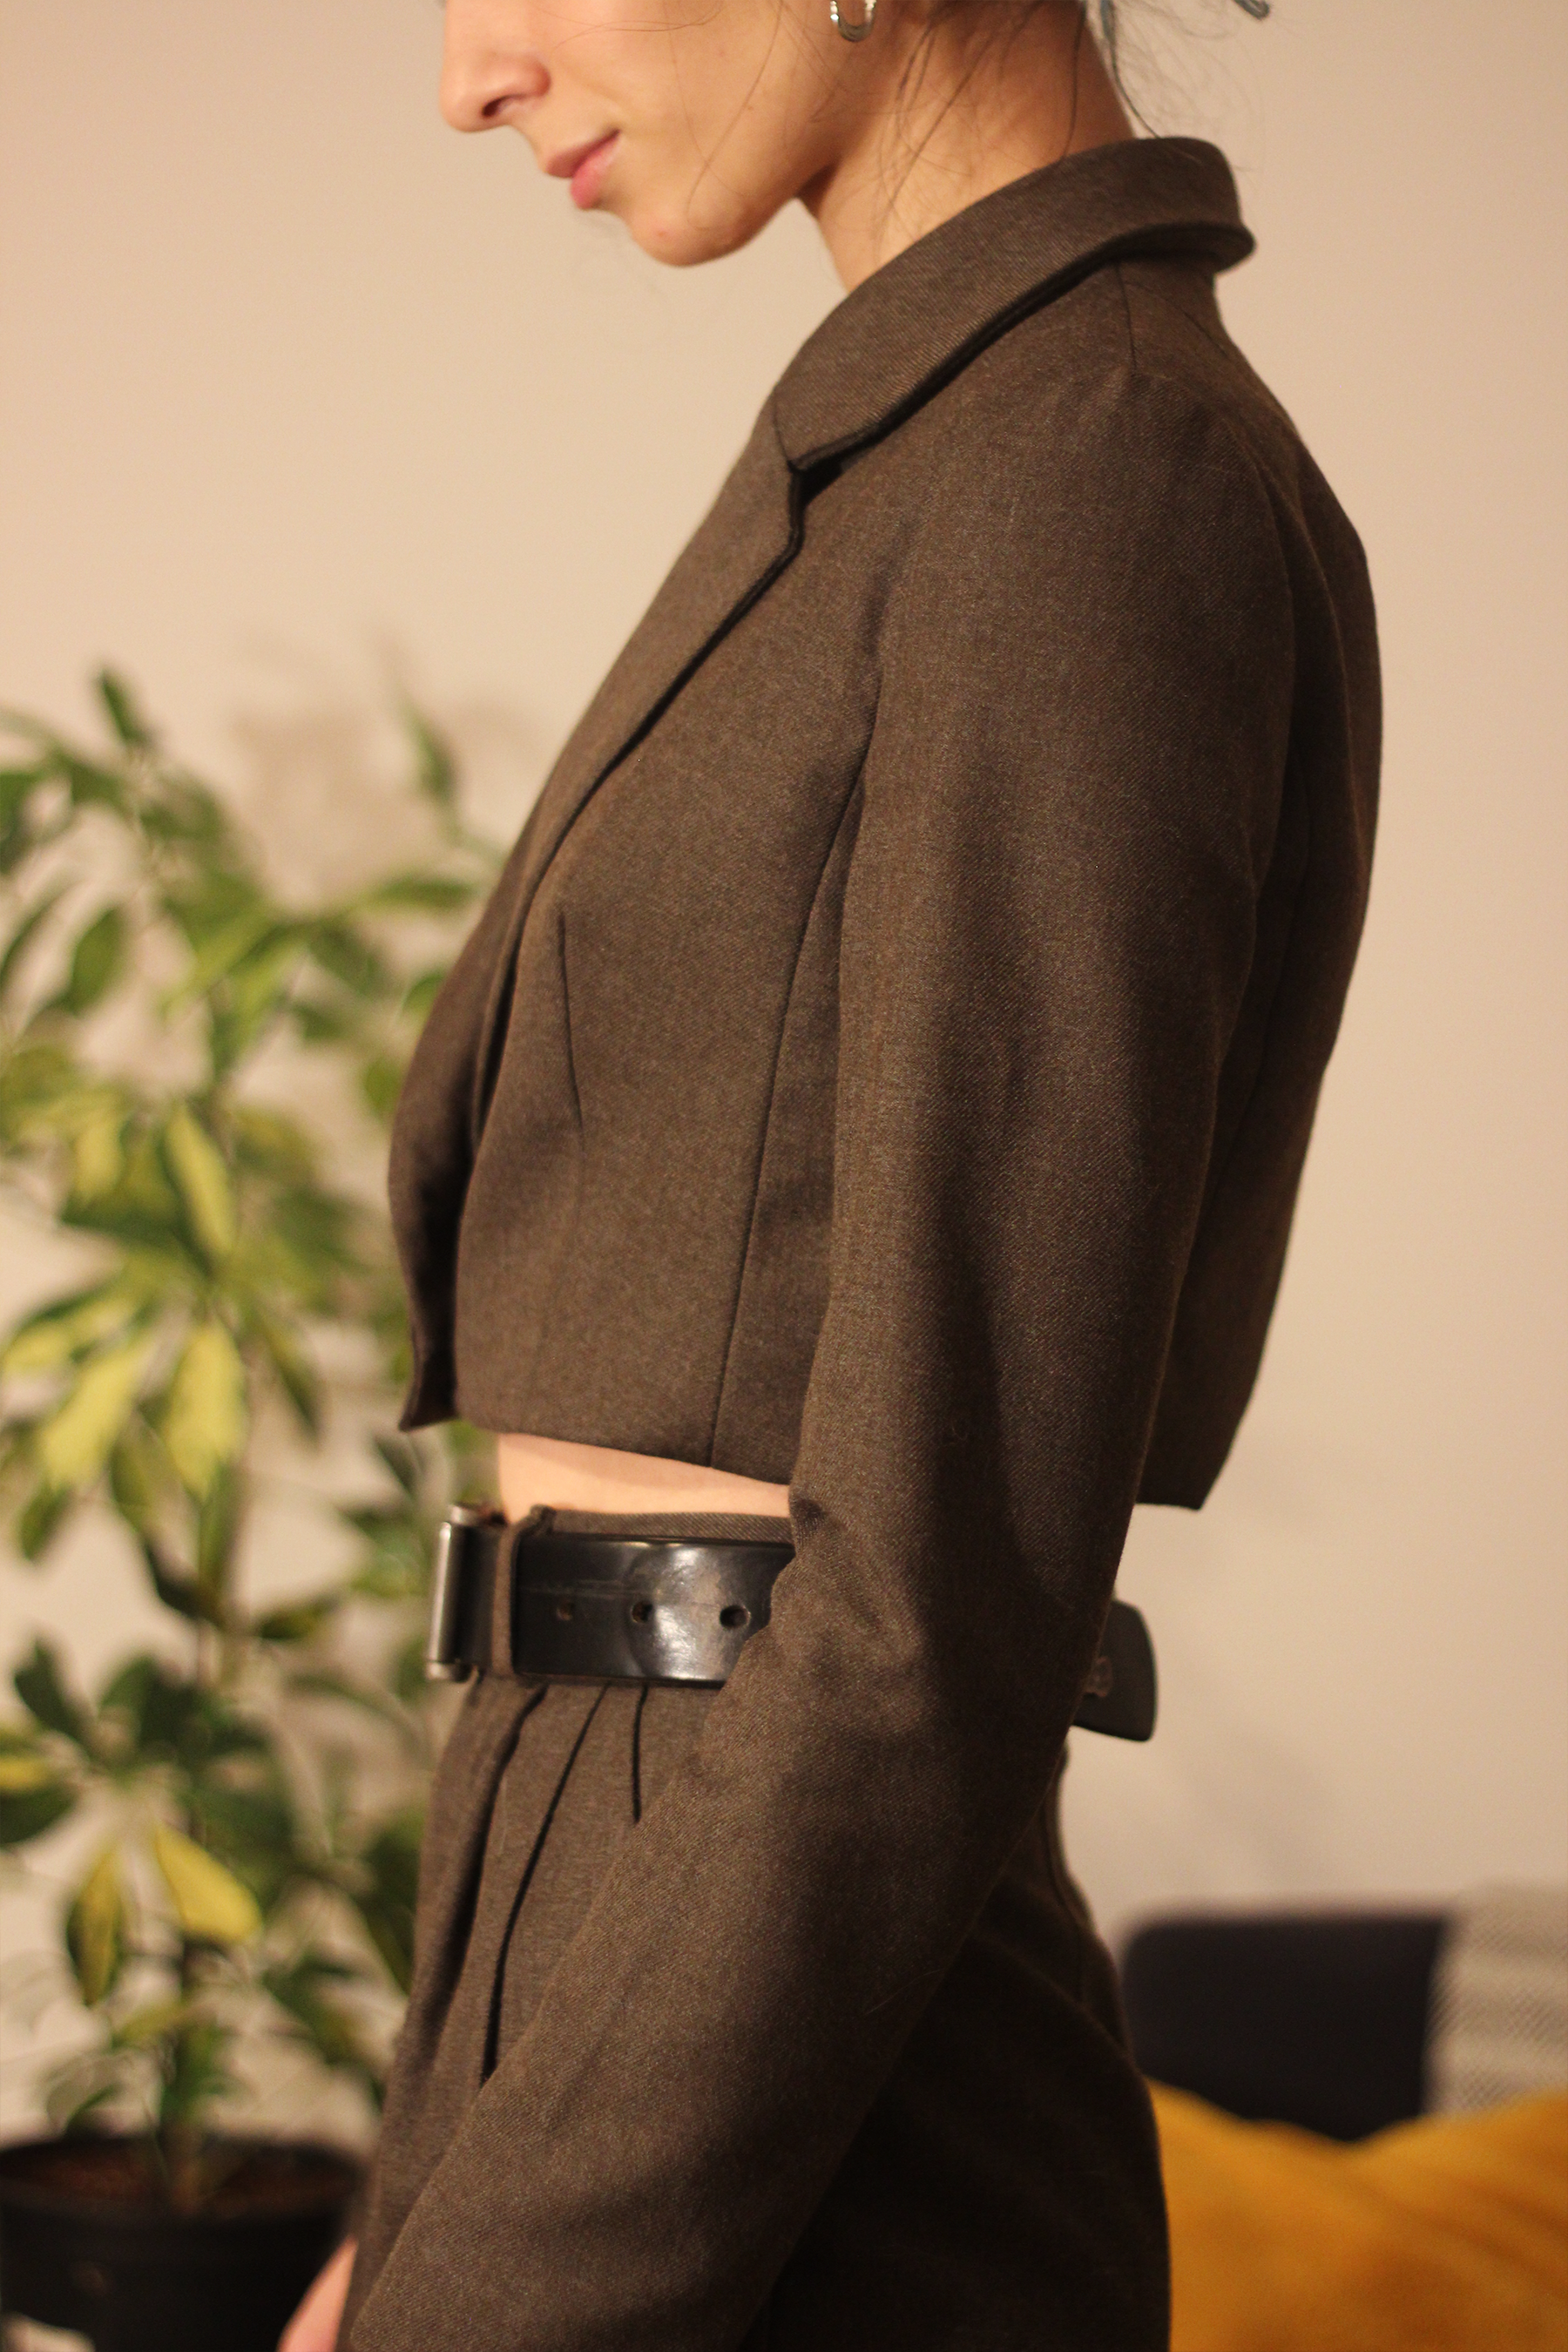
Okay, here’s the big takeaway from this project, at least for me: You see, I’m not a toile person. I avoided doing them at all costs until this very project (see: my insufferable desire for speedy sewing) but this has truly been the most wonderful eye opener for me. While I did make two toiles, I never made one that was fully realized with the lining and the interfacing and stuff. That meant that I didn’t have a complete picture of how it would feel in the end, and sadly it is not a bit too tight around my underarms. I suspect the added layers of interfacing and lining made the end result behave slightly differently to my mockup. That’s to say: If you’re working on a project like this, where you really want to ensure it fits you just right, I think it’s worth it to go the extra mile and do your mockup in a way that mimics the real thing as closely as possible.
Another issue that arose from me skipping the finishing steps on my toiles is that the lining pieces ended up being the wrong length. My occasionally-mathematically-challenged brain did something wrong along the way (I think I forgot to add seam allowance LIKE AN IDIOT) and now the arms are a bit too short and the hem of the jacket is a bit odd. Oh well, you live and you learn, I guess.
All in all, I am still so proud of myself for completing this project. It has been one of those things that served as a paradigm shift in my sewing journey: I now have a new found appreciation for precision, toiles and practicing new skills, and I feel so much more confident about making my three (four?) piece suit dreams come true in the near future. It also helps that I came out of this whole experience with a pretty sweet cropped blazer :’)