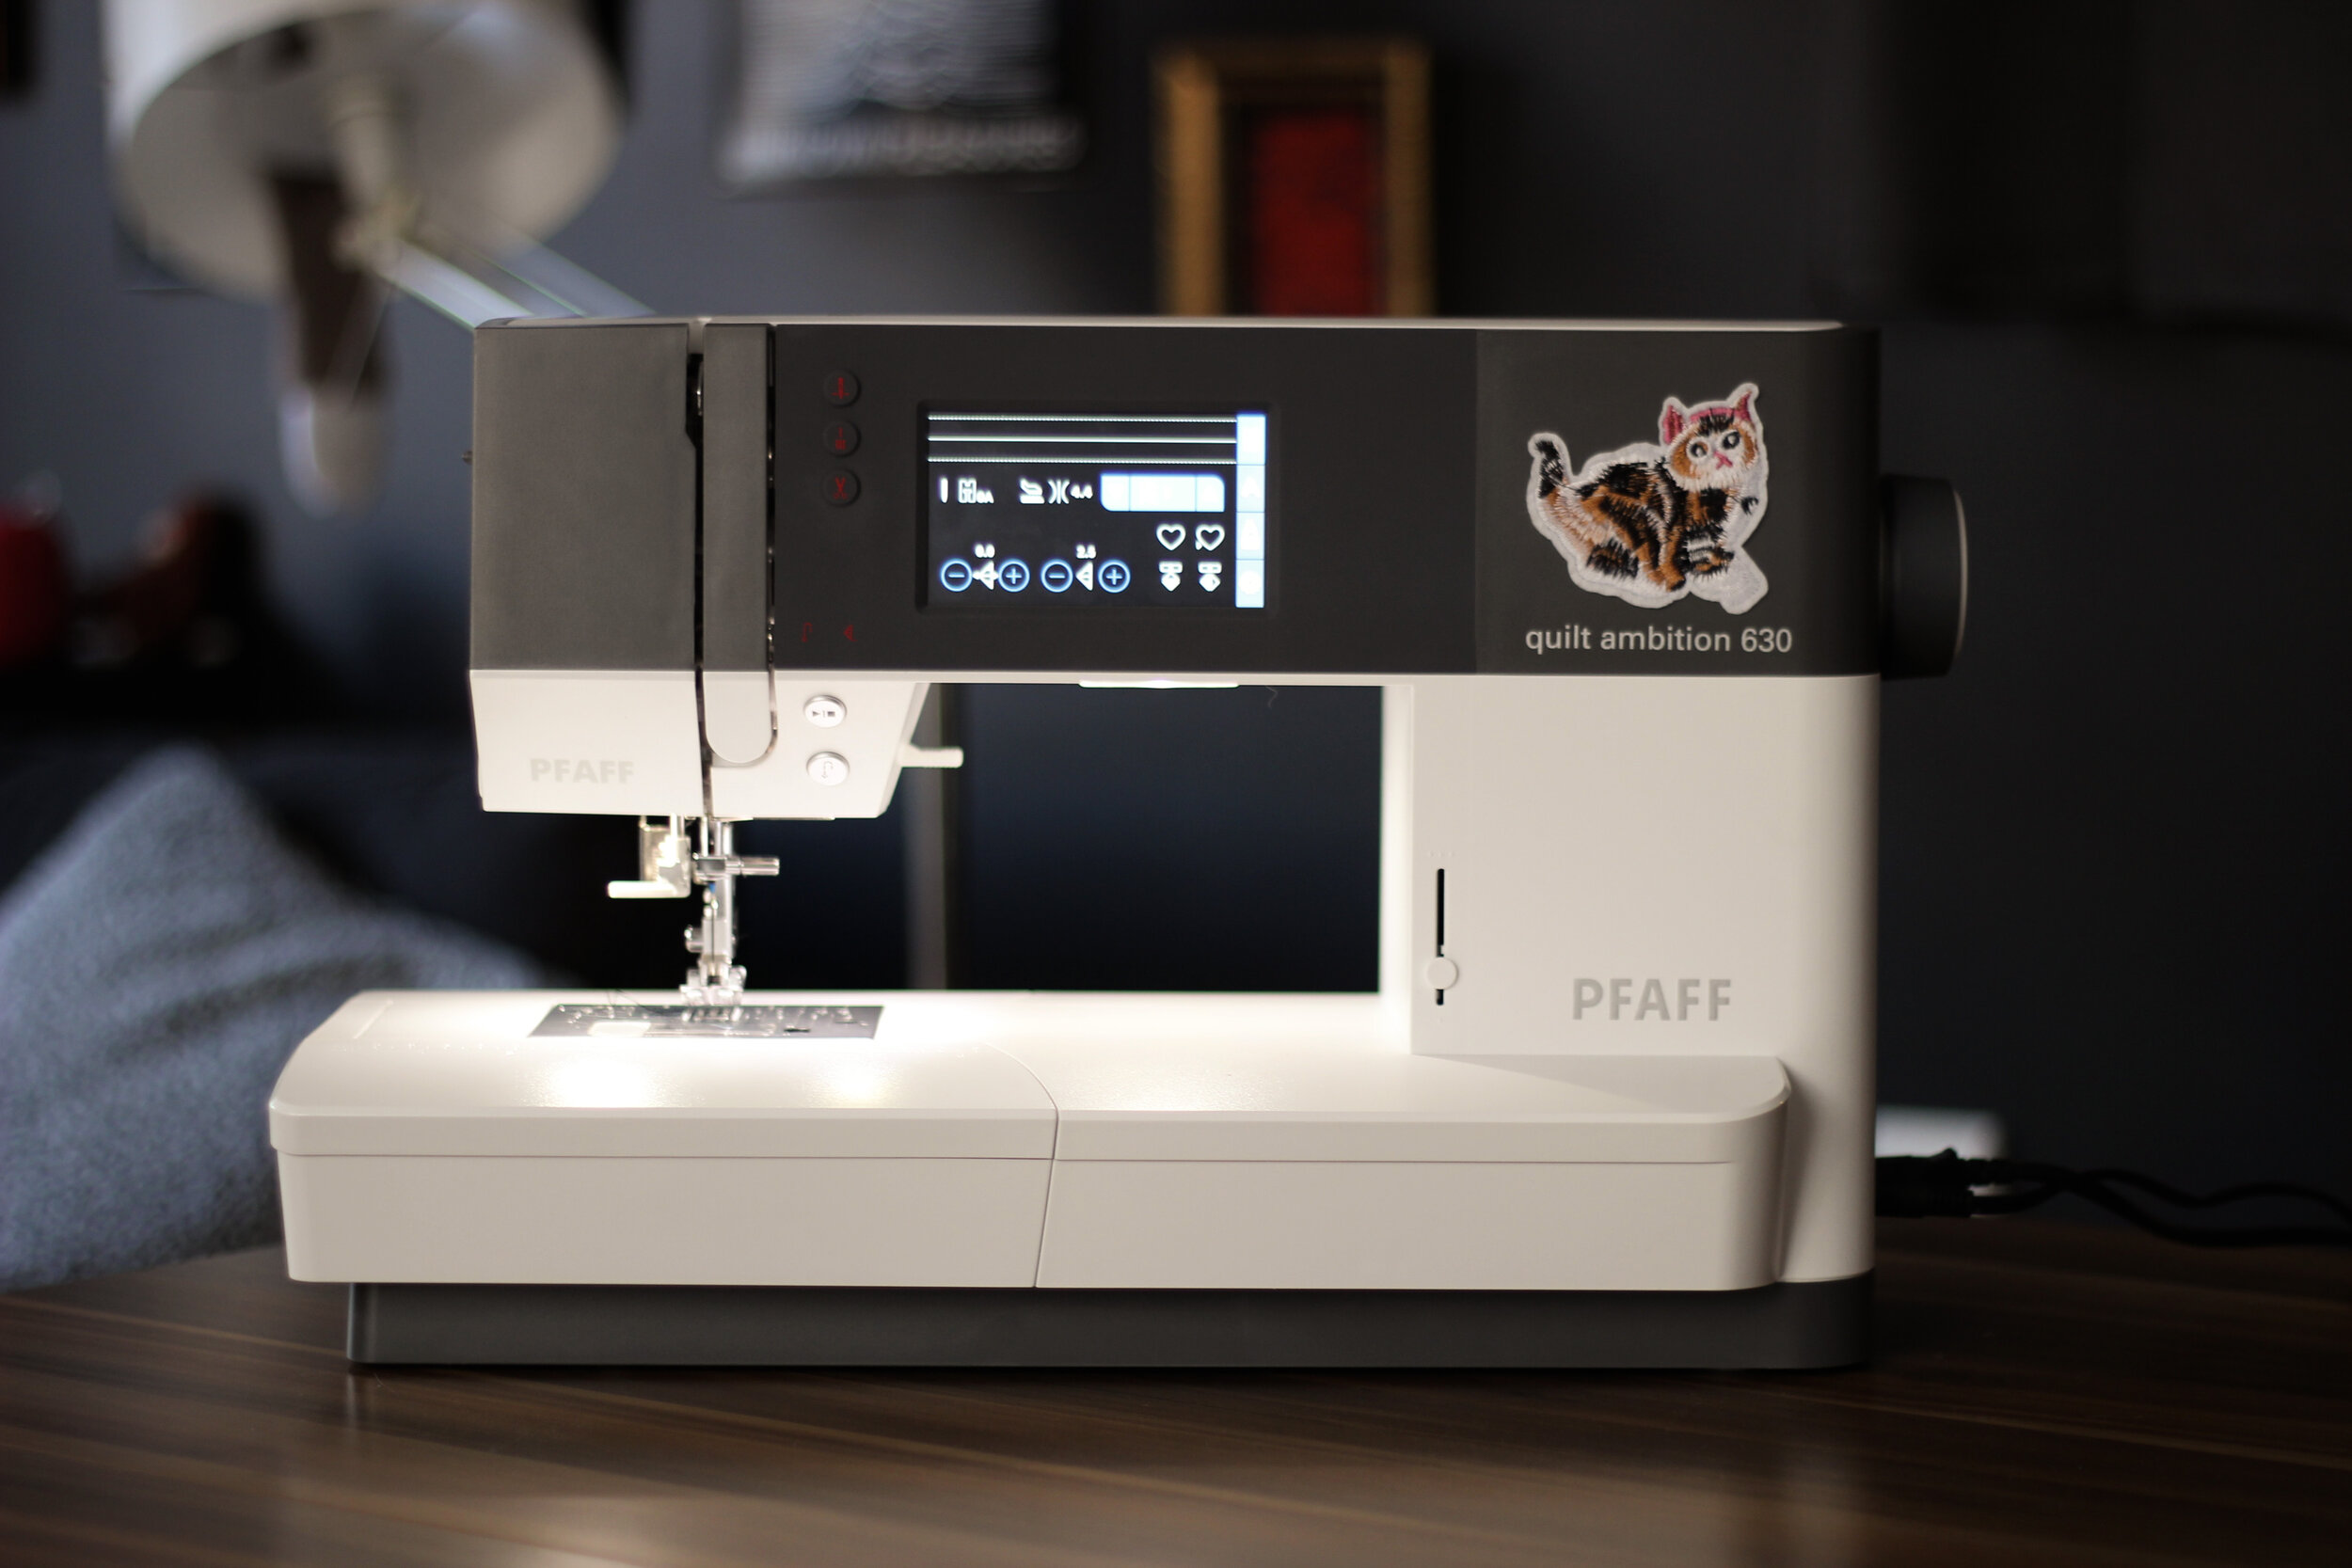
Pfaff Quilt Ambition 630: A Comprehensive Review
I’ve been meaning to write a review of my new sewing machine ever since I got it, because I couldn’t find too many reviews of it that came from a garment making perspective. Now that I have been using it consistently for two and a half months and had the chance to work on lots and lots of projects with it, I finally feel confident in giving you a very detailed and comprehensive review of it! Just a warning: it’s gonna be a long one, so buckle up! I’m including a table of contents so that you can easily navigate this massive blog post.
I have no affiliation with Pfaff whatsoever and I purchased this sewing machine with my own money. Feel free to let me know if you think there is something I missed, and I’ll update this post accordingly :o)
Alright, let’s jump in! First up: Establishing context.
Context
I think it’s important to talk first a bit about where I’m coming from and what my expectations were when I got this machine to establish proper context. My first sewing machine was a Singer Promise 1412, a mechanical model with the basic functions you would expect from a beginner level machine. It has metal insides and it’s quite heavy for its small size (at around 6.5 kilos) , which enabled me to make lots of things involving multiple layers of thick fabric. However, I started to feel like it was holding me back from making certain garments like jeans, jackets and silky shirts etc, because despite being quite powerful and sturdy for its price range, it had a hard time sewing though more than 4-5 layers of denim, and it never worked smoothy with topstitching thread. I still wholeheartedly recommend it to beginners, it’s simply that my needs outgrew its capacity quite quickly.
When I decided to purchase a new machine, I initially wanted a sturdier mechanical machine, and I was *very* against the idea of getting a computerized one. I’ve never been a bells-and-whistles sort of a person, and I found all the fancy little features that came with computerized machines completely redundant. However, after looking at my options for a better mechanical machine, I realized that I wouldn’t be able to source one that was a clear upgrade to my existing machine, so I succumbed and starting looking into computerized machines, which is how I landed on my Pfaff Ambition 630!
The machine is technically called Pfaff Quilt Ambition 630, and I know that “Quilt” in there may scare some people. It does have quite a few features that are designed with quilters in mind, but most of these features are actually quite helpful for garment making as well! Take the generous arm length, for instance, it’s extremely helpful for working on bigger projects like jackets, coats or pants. So if the name concerns you, I wouldn’t be worried about. It just means there are a million decorative stitches you probably won’t use and a quarter inch presser foot included with the machine, so nothing bad :)
My Favourite Features
As I mentioned above, I’m not one to be easily swooned by fancy little features, and I fully expected to not use any of the extras this machine offers. Well, I can tell you now that I was being very silly and stubborn when I was vehemently insisting that I wouldn’t use the automatic thread cutter once my machine arrived… I love all of these features for different reasons, and while non of them are necessary, they make life easier, and make sewing more enjoyable and / or precise.
First up, the IDT. IDT stands for Integrated Dual Transportation, and it’s what Pfaffs are famous for. The easiest way to describe it is as a built-in walking foot: while the feed dogs help feed the fabric from the bottom, the IDT helps move it along from the top, which gives you a very even feed. This is especially helpful when you’re working with slippery fabrics like silks, and when you’re trying to sew through a million layers of denim. Click here for a video by HeirloomCreations on YouTube, showcasing how it works!
The menu is very very user friendly, and I find it really intuitive. For instance, when you select your stitch and change the length or width of it, you get a preview of what it will look like - which is especially useful for people like me who can’t remember which way is the length and which way is the width when changing the stitch properties of a zigzag stitch… 🤦🏻♀️
You can very easily move the needle’s position by 0.2 mm increments from the touch screen. This feature has surprisingly become one of my very favourite ones, because of two main ways I like to use it: Firstly, it allows you to do the most beautiful and accurate topstitching ever: I move the needle 2 or 3 mm to one side, and then simply sew by centering my original seam line. Secondly, I like to move my needle 2 mm to the left, which makes it so that there is exactly 1 cm (or 3/8”) from the edge of my presser foot, giving me very even and precise seam allowances. It has 29 needle positions in total, and you can set it to 3.5 mm to either side of the central starting point. Keeping in mind that the edge of the standard presser foot is 8mm from its centre, that allows you to sew between a 4.5 and 11.5 mm seam allowance using the edge of the foot as a guide.
I ended up putting this one-centimeter-seam-allowance straight stitch to my machine’s memory slot by pressing the little heart shape on the screen, so that I can easily go to it with a single tap! If you have specific settings for a type of stitch you use all the time, this “favourite” function is great. Just keep in mind that you can only store one stitch at a time in the memory.
The needle up / down button allows you to control where the needle lands when you stop sewing. If you don’t touch it, the machine will automatically leave the needle at its highest position so that you can remove your fabric easily and safely. If you do engage this function, then it will leave the needle in the lowest position when you stop sewing, which is great for pivoting or sewing areas requiring extra precision.
A function I rolled my eyes at before using it was the speed control. I like to think that I have pretty good control over the foot pedal, and that I can sew at the exact speed I like. However, the truth of the matter is that I often get impatient and try to sew everything as quickly as possible. Slowing the machine down when I’m about to start sewing a tricky seam has forced me to become much much more careful and diligent about my sewing.
Relatedly, it’s very quiet on the lower speeds, making it possible for me to sew late into the night in our apartment building!
Yet another feature that I previously misjudged as being overrated (but now completely love) is the automatic thread cutter. When you push the button, the machine pulls both of your threads to the back of the fabric and cuts them, leaving a tail of 2-3 cm (about an inch). I love this little feature because a) it saves me so much time since both threads are on the same side of the fabric and can be very easily cleaned up and b) it saves me from wasting a ton of thread! It’s also worth mentioning that when you press the thread snips button as you’re sewing a decorative stitch, the machine will continue to the sew until the motif is completed, then lock the stitches and snip the threads. (The buttonhole stitches do this without you even having to press the button!)
One of my biggest gripes with my previous machine was the lack of clearly marked seam allowances on the throat plate. The Pfaff Ambition 630 has both metric and imperial markings on both sides of the needle, and I find them to be very easy to read / see.
It lights up like a dream! There are three LED lights nestled into the machine in total: 2 near the needle and an additional one lighting the centre of the machine’s arm length.
And finally, the generous space to the right of the needle: the huge arm length. I have never quilted a thing in my life, but you don’t have to be a quilter to appreciate having this much space both to the right and to the left of your needle. I find it extremely helpful for working on projects like jackets, coats or pants, since it allows me to rotate my project however I like to get the most precise results.

Things I Dislike About the Machine
So you get it, I love this machine. But as with all things in life, there are things I would change about it if I had my way.
The biggest “issue” I have with it is the slight delay it has with the reverse button. Coming from a simple, mechanical machine, I was very used to my machine going backwards as soon as I pulled the lever, and I was very worried about getting used to the tiny delay many computerized machines have. When you press or release the reverse button, the machine continues to stitch in the previous direction for 2-3 stitches, which means you have less precision about where your stitches start and stop unless you get very used to the rhythm of the machine. The good news is that I did get used to it fairly quickly, and it really doesn’t bother me anymore. But if I could remove that 2-3 stitch delay, I definitely would.
The other thing I would change is how close the start/stop button and the reverse button are on the machine. Now this doesn’t happen on a regular basis, but I found myself accidentally pressing the start/stop button instead of the reverse one when I was sewing a tricky seam by accident, and that wasn’t fun at all.
I didn’t run into this issue, but if you’re fond of using lots of different presser feet in your sewing, and / or you have collected lots of them over time, you might not be able to use them with this machine because of the IDT system. The feet that are suitable for IDT usage have a small gap in the back of them, allowing for the IDT system to slide in. I tried to put my old Singer’s presser feet on the Pfaff and I couldn’t do it, even with the IDT disengaged, however I’m not 100% positive on whether this would be the case with all presser feet. The machine already comes with lots of feet, so I didn’t have the urge to purchase any additional ones, but it is worth noting that the extra feet Pfaff sells are significantly more expensive. Just something to consider if you are very attached to your 42 piece presser foot set :
The Stitches I Actually Use (and How They Look)
This machine comes with 201 (!!!) types of stitches, which is one of the reasons why this machine is mostly marketed to quilters. I did play around with a few of the decorative stitches when I first got it, but I don’t have much use for the vast majority of them in day to day sewing. That being said, I thought I would give you a list of the stitches that I do actually use (or that might come in handy while making clothes) , and show you what they look like!
Straight stitch
Zigzag stitches
Stretch / lightning stitch
Buttonholes
Bartacks
Overcasting stitches
Bonus: the alphabet


All the buttonholes that come with the machine, stitches 32 through 38. The fabric is two layers of suiting gabardine with no interfacing. The thing that sets these buttonholes apart from most others is that when you start stitching, the machine first does a running stitch up one side, then comes down with a satin stitch. It then goes up the other side with another running stitch, and then comes down again with a satin stitch. This means that the stitches are always made following the same direction, instead of the left side going up and the right side going down, for instance.

There are quite a few different overcasting stitches (19 through 31), but here are three as an example: 19, 20 and 21, all of which are closed overlock stitches, meaning they seam and overcast at once. They are demonstrated here on gabardine muslin, but they also work great on knits!

The bartack (43), the denim bartack (44), the decorative bartack (45), the elastic overcast (22, which I like to use for appliqués as a blanket stitch substitute), the zigzag stitch with a few accidental reverses in there (5), the satin stitch (6), and the lightning / stretch stitch (2, also great for topstitching with regular thread!).

Keyhole buttonhole on a single layer of interfaced wool. On the left is the default setting, and on the right is the tightest setting. Image on the left shows the front side, and the image on the right shows the back side.
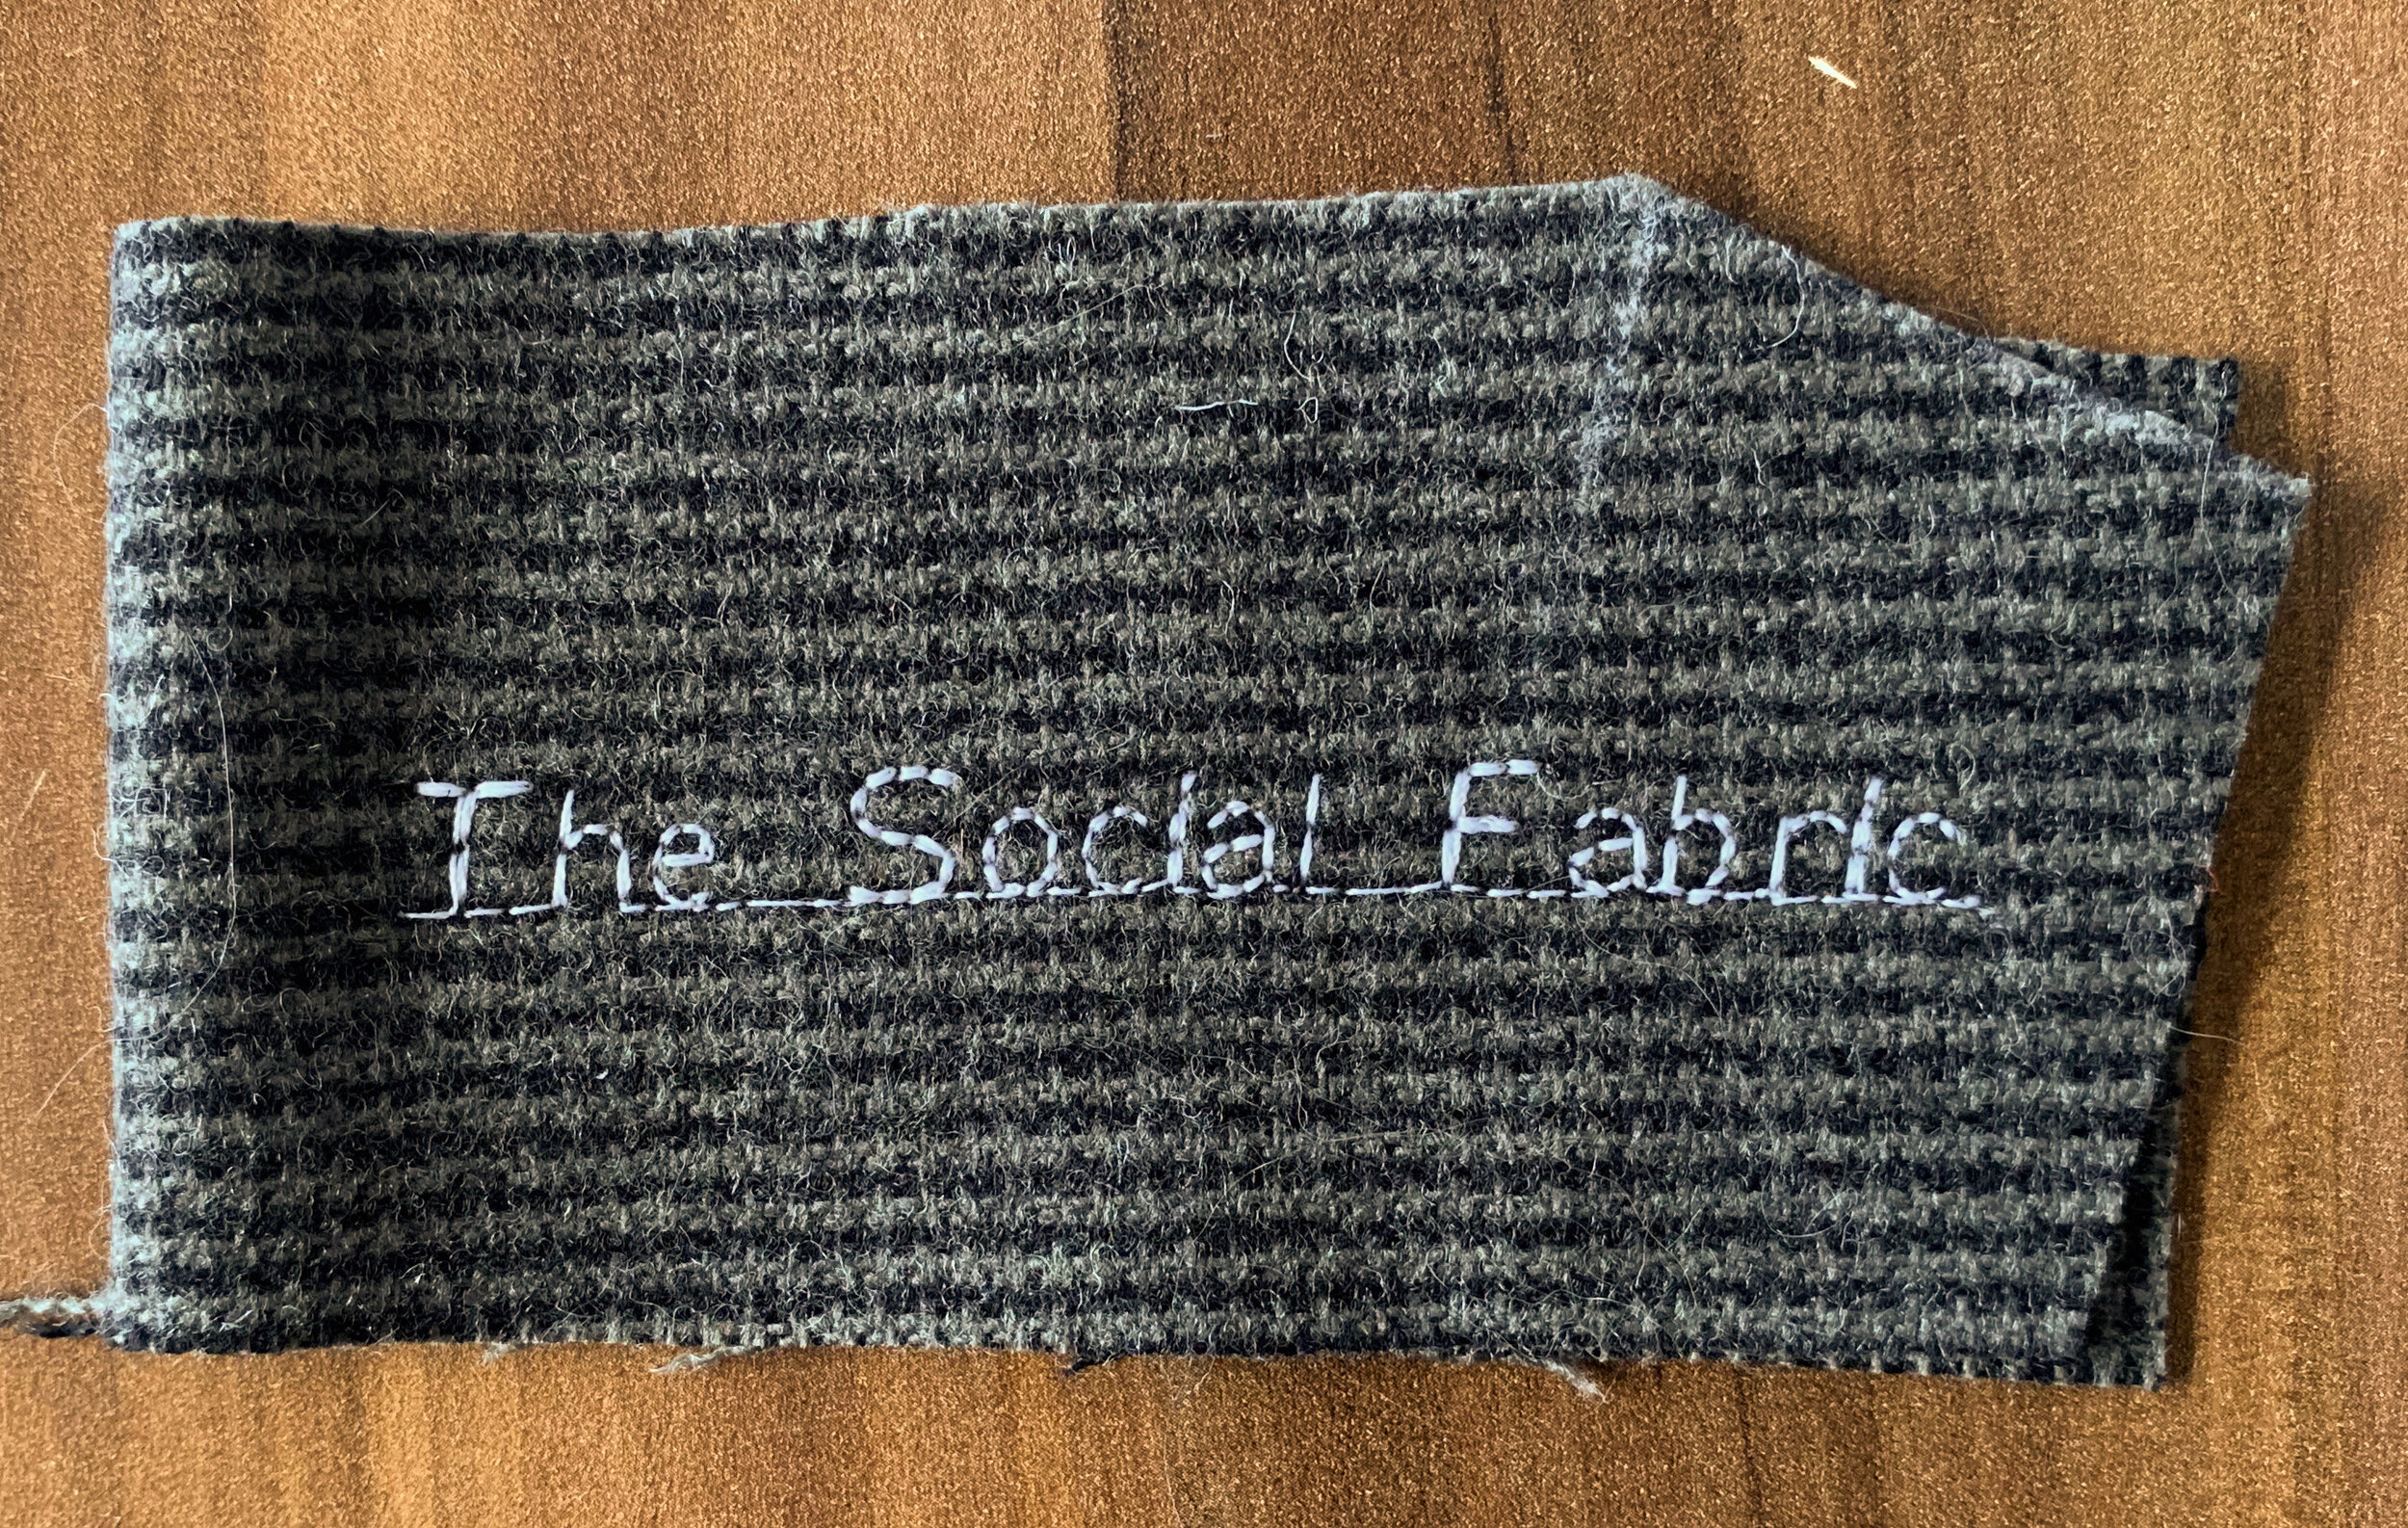
A sample of the alphabet: White Gutermann thread on two layers of midweight wool.
How It Handles Different Sorts of Fabric
At the time of writing this, I have had the chance to work with the following fabrics. I’m including links to the projects I made using said fabrics where applicable so you can get an idea of what the fabric looks and feels like, as well as see it in a real life setting.
The beautiful thing about this machine is that it handles 5 layers of thick sherpa, 8 layers of denim and 2 layers of slippery cupro with the same ease! I haven’t had any issues with sewing over multiple layers of thick fabric, and although limited, my experience with working of thinner, more slippery fabrics has also been wonderful. Some notable mentions go to the time it sewed over 10 layers of wool + 2 layers of cupro + multiple layers of interfacing with no sweat, and the time it sewed through 5 layers of super thick sherpa in the centre of my Fougere sweatshirt and didn’t even move the layers over.
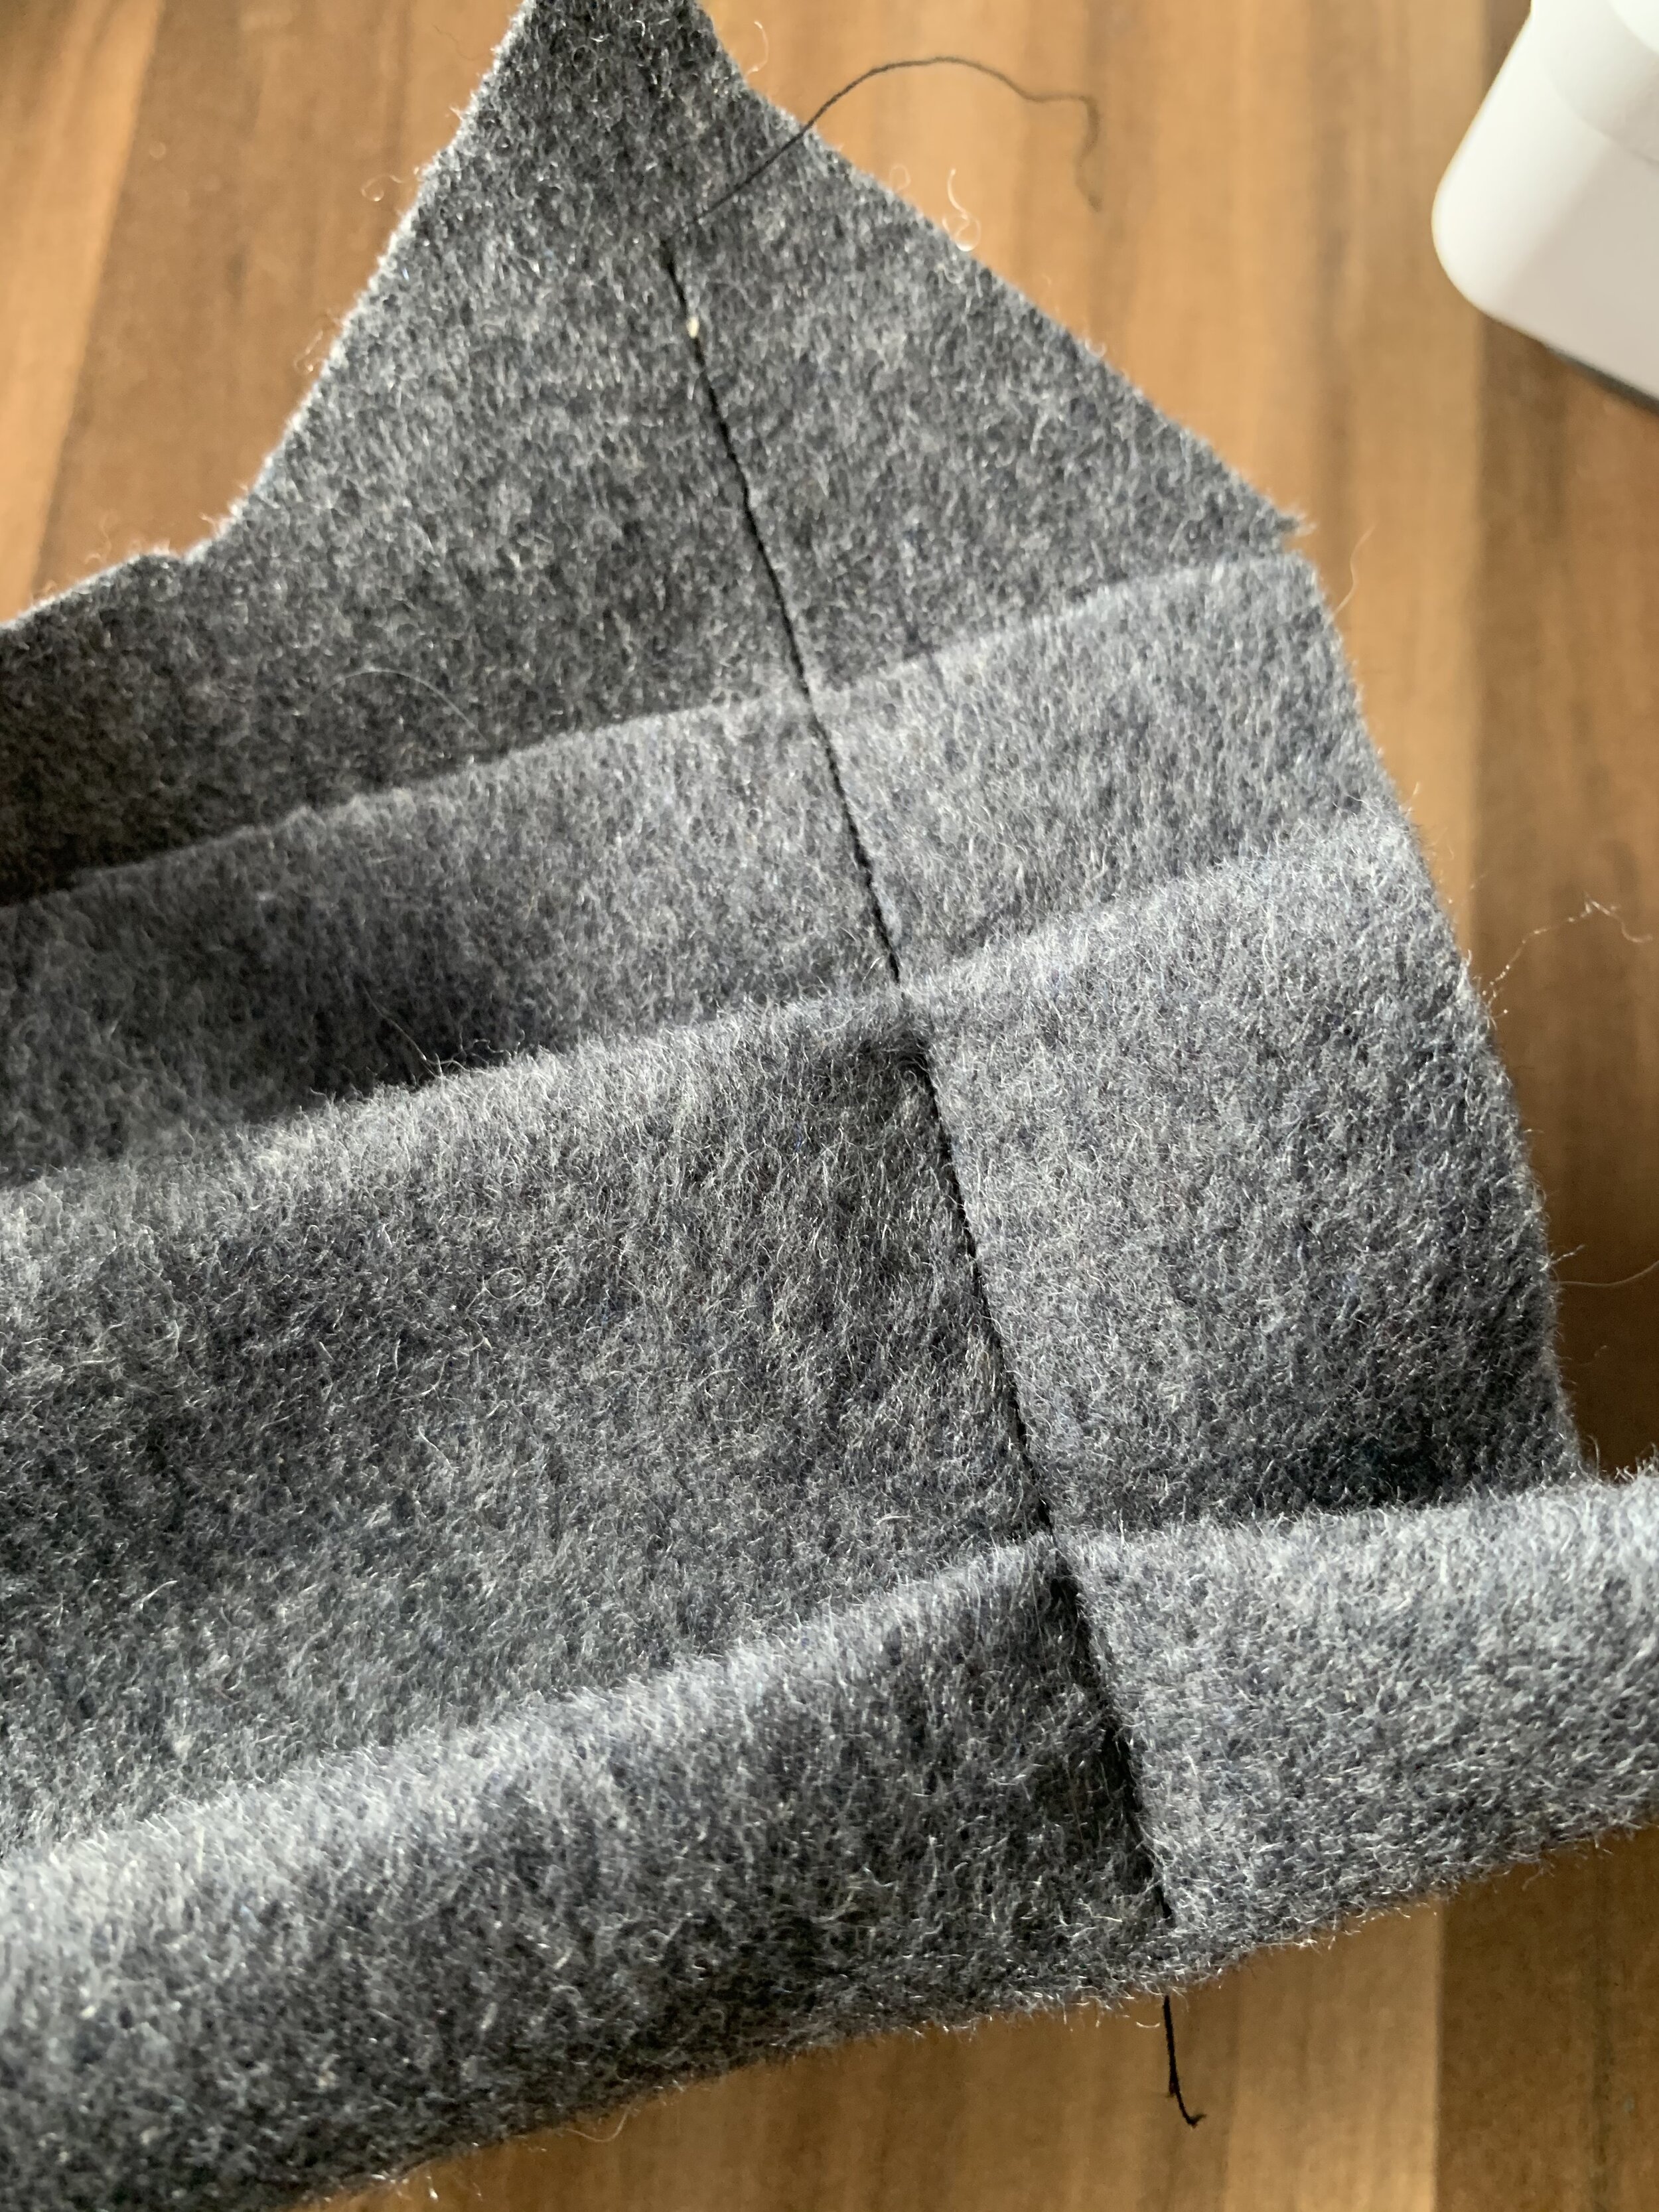
Here are some photos of how it manages multiple layers of different types of fabric. The fabrics I used for the following samples are very thin cotton voile and thick wool coating. From the top going down, each sample is 1, 2, 4 and 8 layers thick. I didn’t touch the tension settings at all and the stitching looks perfect on both sides! I used a 90/14 needle for all samples for reference.

Other Cool Features
It has a tiny thread cutter near where you wind the bobbin, which is a cute and thoughtful touch.
It come with an automatic needle threader that is quite easy to use - I oddly love threading the needle manually but it does come in handy if my vision is all messed up post-migraine-attacks :’)
You can easily use twin needles with it, it even has a twin needle setting which lets you put in the width of the twin needles you are using so that you don’t run into issues with doing certain decorative stitches using your twin needles.
It doesn’t let you start sewing until you put the presser foot down, it has audio alarms you can choose to disengage.
I love the clean, structured design lines of the machine, and love that it comes in a neutral colour.
It weighs around 10 kilos, making it quite hefty. It definitely does not move around on the table, and I can easily trust it with heavier weight fabrics. It also has a pretty sturdy and comfortable handle.
It comes with a hard case, in case you would like to store your machine covered between uses.
The power cord and the foot pedal have separate entries to the machine.
It has a start / stop button, so you could sew without using the foot pedal if you choose to do so. I feel more comfortable with the foot pedal, but I love this function when I’m doing buttonholes and bartacks, using the alphabet stitches, or doing decorative stitching.
The presser foot lift is located on the right side of the needle (which I find a million times easier to access), instead of on the back.
It has two built-in compartments for you to put in your accessories: a larger one on the front and a smaller one on the back.
Speaking of accessories, it comes with 8 feet: 0A (Standard Presser Foot for IDT™ System), 1A (Fancy Stitch Foot for IDT™ System), 2A (Fancy Stitch Foot), 3 (Blindhem Foot for IDT™ System), 4 (Zipper Foot for IDT™ System), 5 (One Step Buttonhole Foot), 6 (Embroidery/Free-Motion Foot), and a 1/4” quilting foot with IDT™ System.
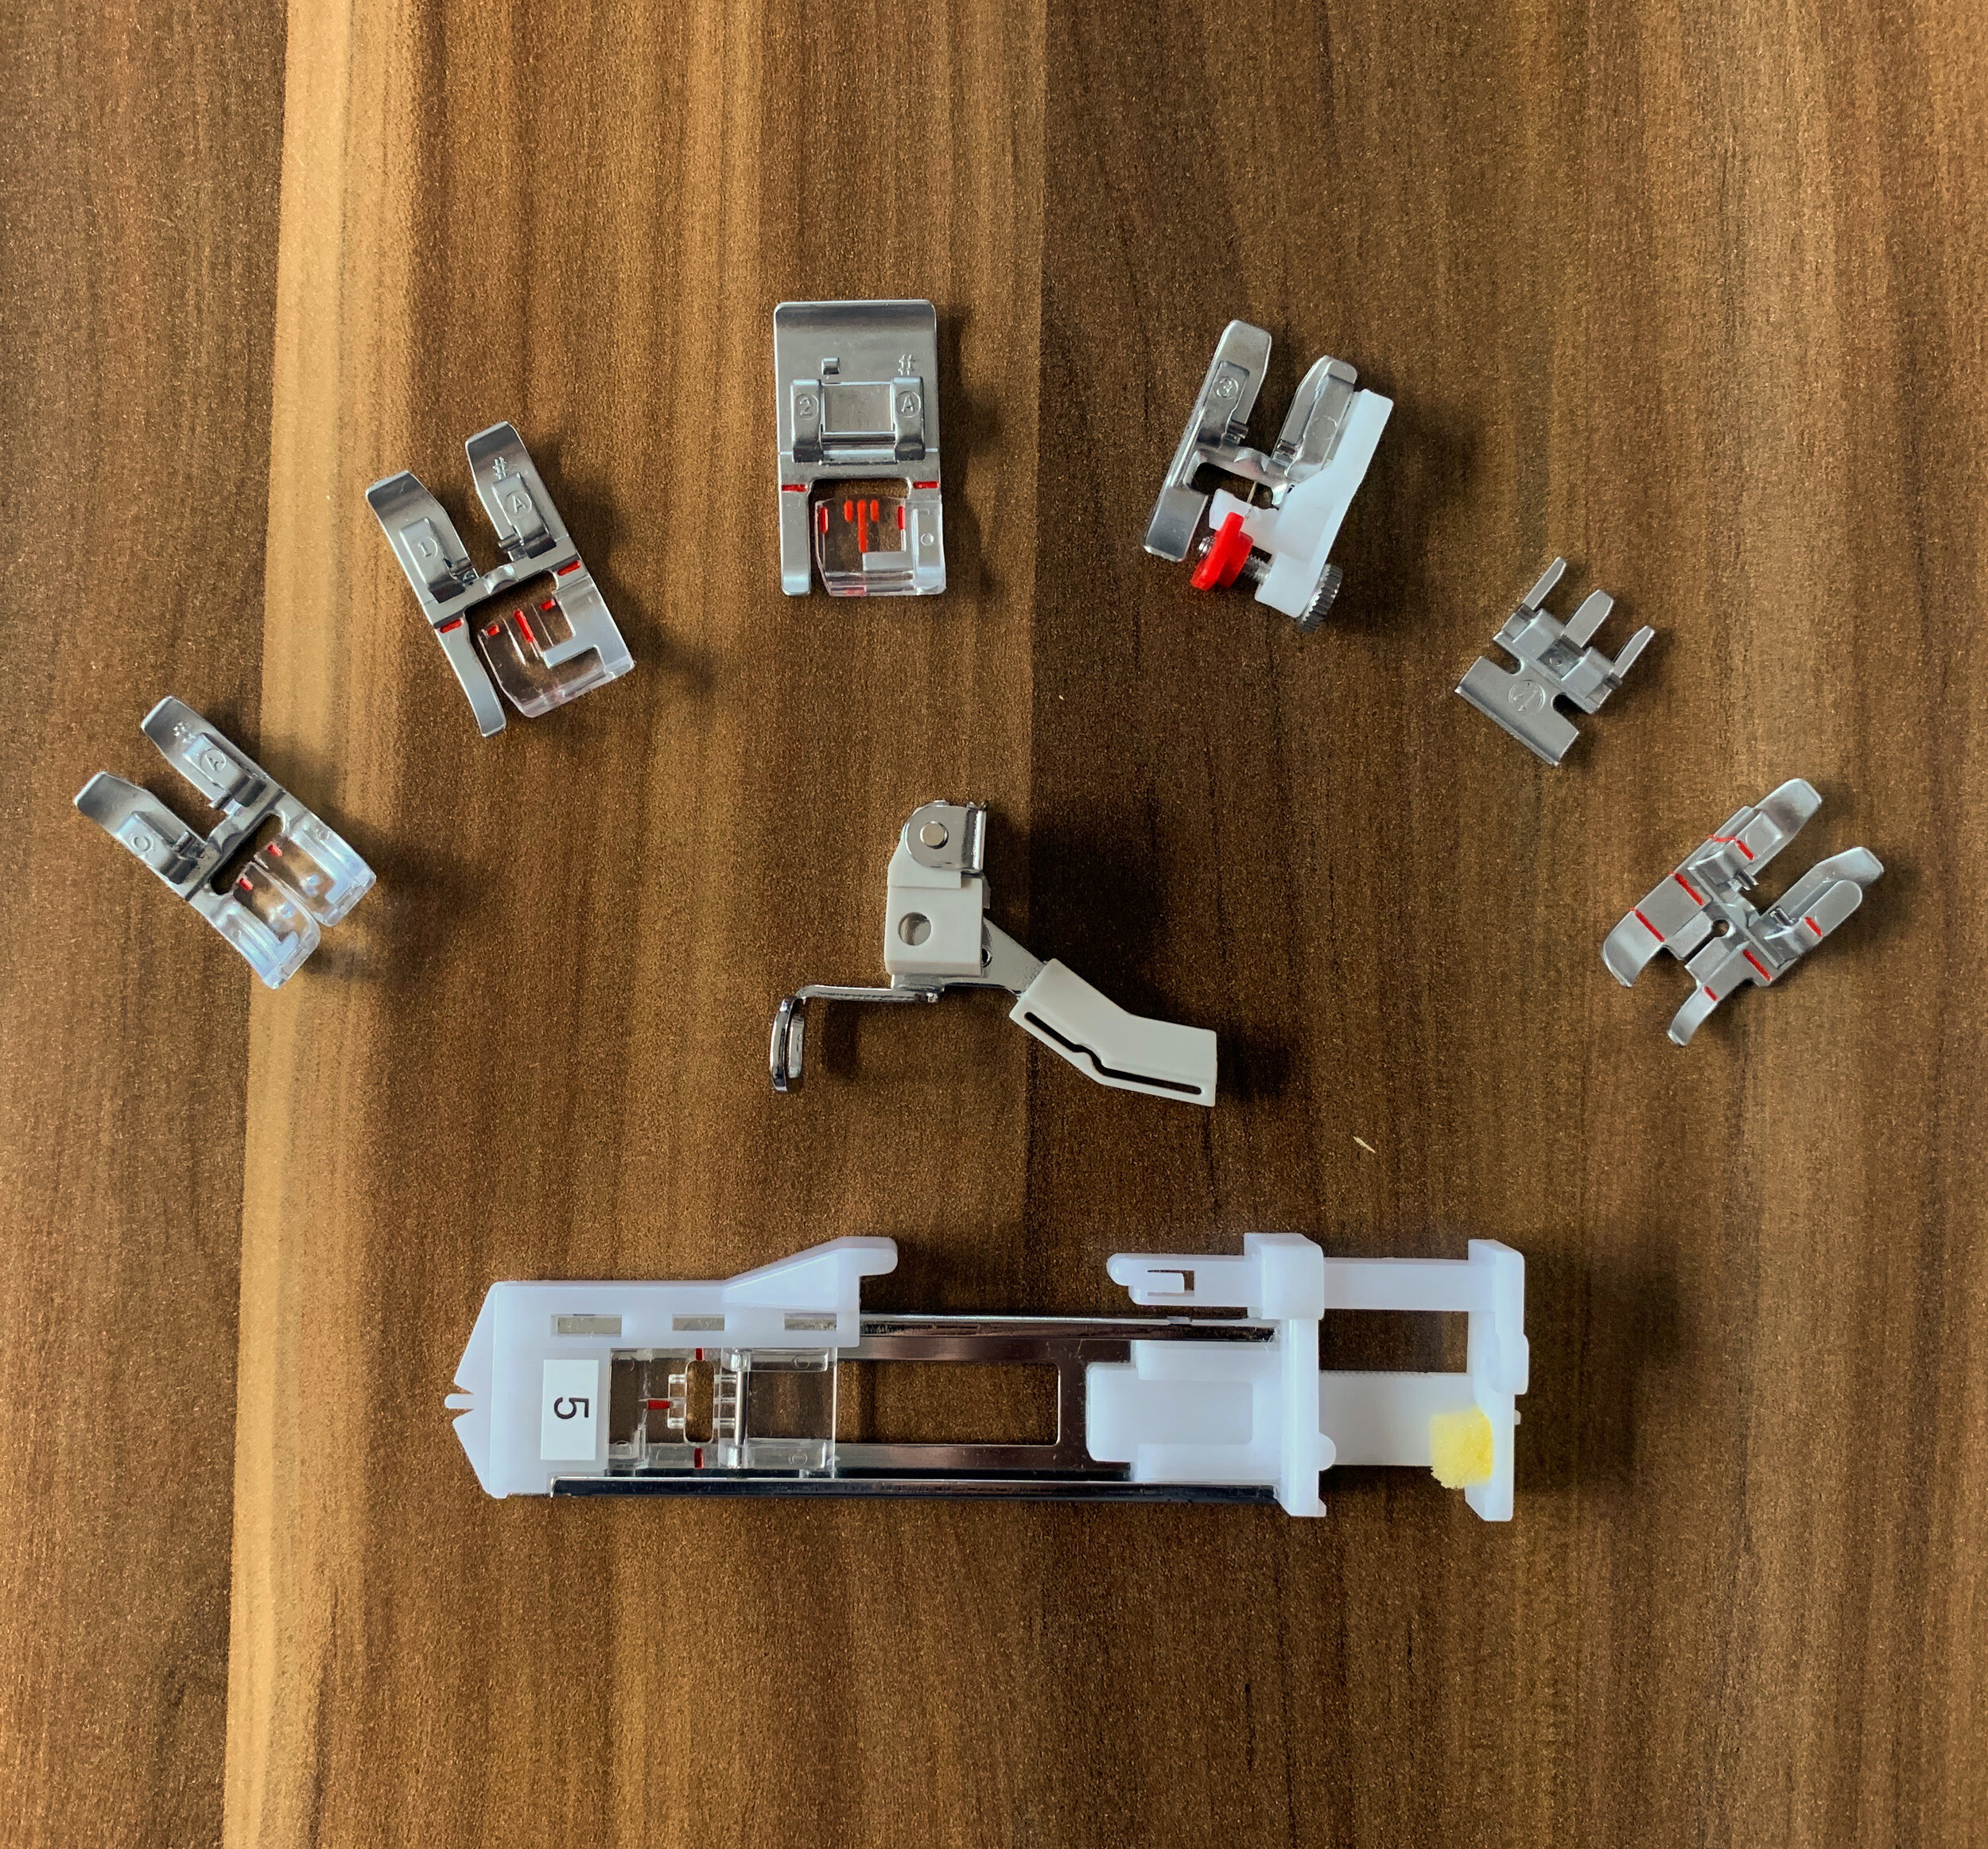
All the presser feet that come included with the machine.
Accessibility
The wonderful Samantha from @purplesewingcloud on Instagram has been pushing for accessibility information to be put on the websites of sewing machine manufacturers, and she has received promises from many of the major sewing machine manufacturers for providing this information. However, since Pfaff said it would be a few months before they could implement these changes, and since there is a severe lack of information on this very important topic, I thought I would highlight some features that the Pfaff Ambition 630 has that might be helpful for disabled / chronically ill sewists.
Before I begin, I would just like to note that I am an able bodied, 24 year old person with no chronic illnesses other than experiencing pretty bad migraines. My eyesight isn’t the best, I have a prescription of -3.5 degrees on both eyes, so I always have contact lenses or prescription glasses on when I’m sewing. This causes me to see objects and details that are closer to me less clearly when I have my contacts / glasses on, and I occasionally experience blurred vision following a particularly bad migraine episode. The following notes are written from my perspective, so take them with a grain of salt :)
This machine does not have any Braille writing on the buttons, but it does have raised buttons: three to the left of the screen (needle up / down, end decorative stitch, and thread snips), and two further down (start / stop and reverse button). The top three have a rubberized feel and the bottom two have a hard plastic feel, but there are no tactile differentiators between the different buttons other than that.
It comes with audio warnings on as the default setting, so the machine beeps at you if you try to sew with the presser foot up or when you start winding the bobbin. There are also visual warnings that appear on the screen, and you can choose to turn the audio warnings off in the settings.
Every option you can access through the touch menu makes a tiny noise when touched, but the different options do not produce different sounds.
As mentioned above, this machine has a speed control slider. There are three raised triangles on the top of the slider and one on the bottom to indicate which way is for which speed.
It has a start / stop button so you can operate the machine without using the foot pedal.
The seam allowance guides are quite clearly marked, and there are three LED lamps that come built in.
The machine also comes with a needle threader that is quite simple to use.
There is a small blade located to the left of the machine for cutting your thread tails, but it’s in the shape of a flat disc and it’s kinda hard to slide the threads in the correct position quickly. But in my experience, the automatic thread cutter makes up for it.
If you would like to share your experience with this machine in relation to your disability / chronic illness, I would be more than happy to include it in this section of the review. Just shoot me direct message on Instagram or an e-mail and I’ll get back to you as soon as possible!
Is It Worth It?
So, is it worth it? Is it really *that* different from a beginner-level machine?
Personally, I have no regrets about purchasing this machine, it was the most expensive thing I have ever bought for myself and I still think it’s completely worth it. It has pushed me into becoming a more precise and fearless sewist, and I feel like it can handle whatever I throw into it. Since I don’t have to worry about whether or not my machine can handle sewing through 8 layers of denim or a single layer of silk or four layers of jersey, I can focus my attention to my technique and precision, which I love.
That being said, I don’t think purchasing a fancy sewing machine will necessarily make you a much better sewist. I firmly believe that you can sew pretty much anything on a less expensive model, you just might have to change your order of operations, or implement new techniques.
Useful Resources
Here are some useful resources if you’re interested to know more about this machine:
HeirloomCreations on Youtube has an incredible playlist of videos on every single page of the user’s manual. I highly recommend watching them if you’re considering purchasing this machine!